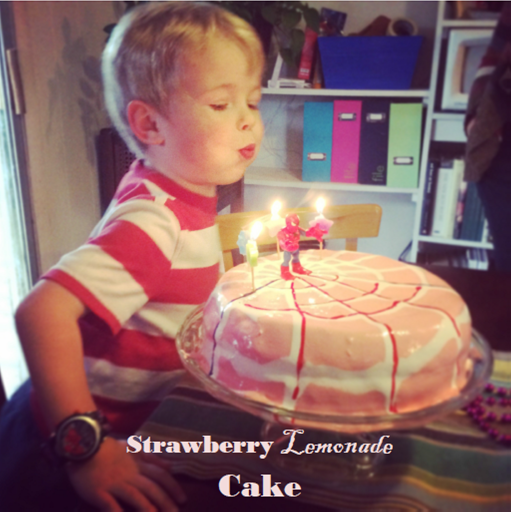
Strawberry Lemonade Cake
For my son's 4th birthday he kept waffling over whether he wanted a Percy, the green steam-engine from Thomas the Train, or a spider man cake. In the end, spider man won. And, really I was thankful. I had visions of sculpting layers and layers of cake to make a train... A spider man cake on the other hand, easy peasy, all I needed to do was make an icing web and throw on a cake topper. If you'd like to see his 3rd birthday cake, check out this cool blueberry cupcake train.
There was absolutely no waffling about the flavor of the cake, which was completely thought up by this child-genius: lemon layer cake, strawberry filling and strawberry icing. Apparently Southern Living was on the same page and recently came out with a strawberry lemonade cake. I used their strawberry lemonade jam for the filling, and two lactose-free go-to recipes for the cake layers and icing. The results were pretty awesome AND pretty delicious.
Strawberry Lemonade Cake
Lemon Layer Cake
Makes 2 nine-inch layers, recipe adapted from cupcakes! by Elinor Klivans
Ingredients
- 2 1/2 cups unbleached all-purpose flour
- 1 teaspoon baking powder
- 1/2 teaspoon baking soda
- 1/2 teaspoon salt
- 3 large eggs
- 2 cup sugar
- 1 cup canola oil
- 2 teaspoons vanilla extract
- 1 cup sour cream (I used lactose-free)
- zest of two lemons (reserve lemons for juicing)
Directions
Preheat oven to 350 F. Line 9-inch cake pans with parchment paper and spray with non-stick cooking spray.
Sift the flour, baking powder, baking soda, and salt into a medium bowl and set aside.
In a large bowl, using an electric mixer on medium speed, beat the eggs and sugar until thickened and lightened to a cream color, about 2 minutes.
Stop the mixer and scrape the sides of the bowl as needed during mixing. On low speed, mix in the oil and vanilla until blended. Mix in the sour cream until no white streaks remain. Mix in the zest and flour mixture until it is incorporated and the batter is smooth.
Evenly divide the batter into the two cake pans. Bake for 25-30 minutes until just set.
Cool completely before assembling.
Blogger's Note: this recipe was designed for cupcakes. Most bakers don't recommend interchanging these, as cupcakes and cakes bake slightly differently. The center fell quite a bit, but the flavor of the cake, more than made up for this flaw.
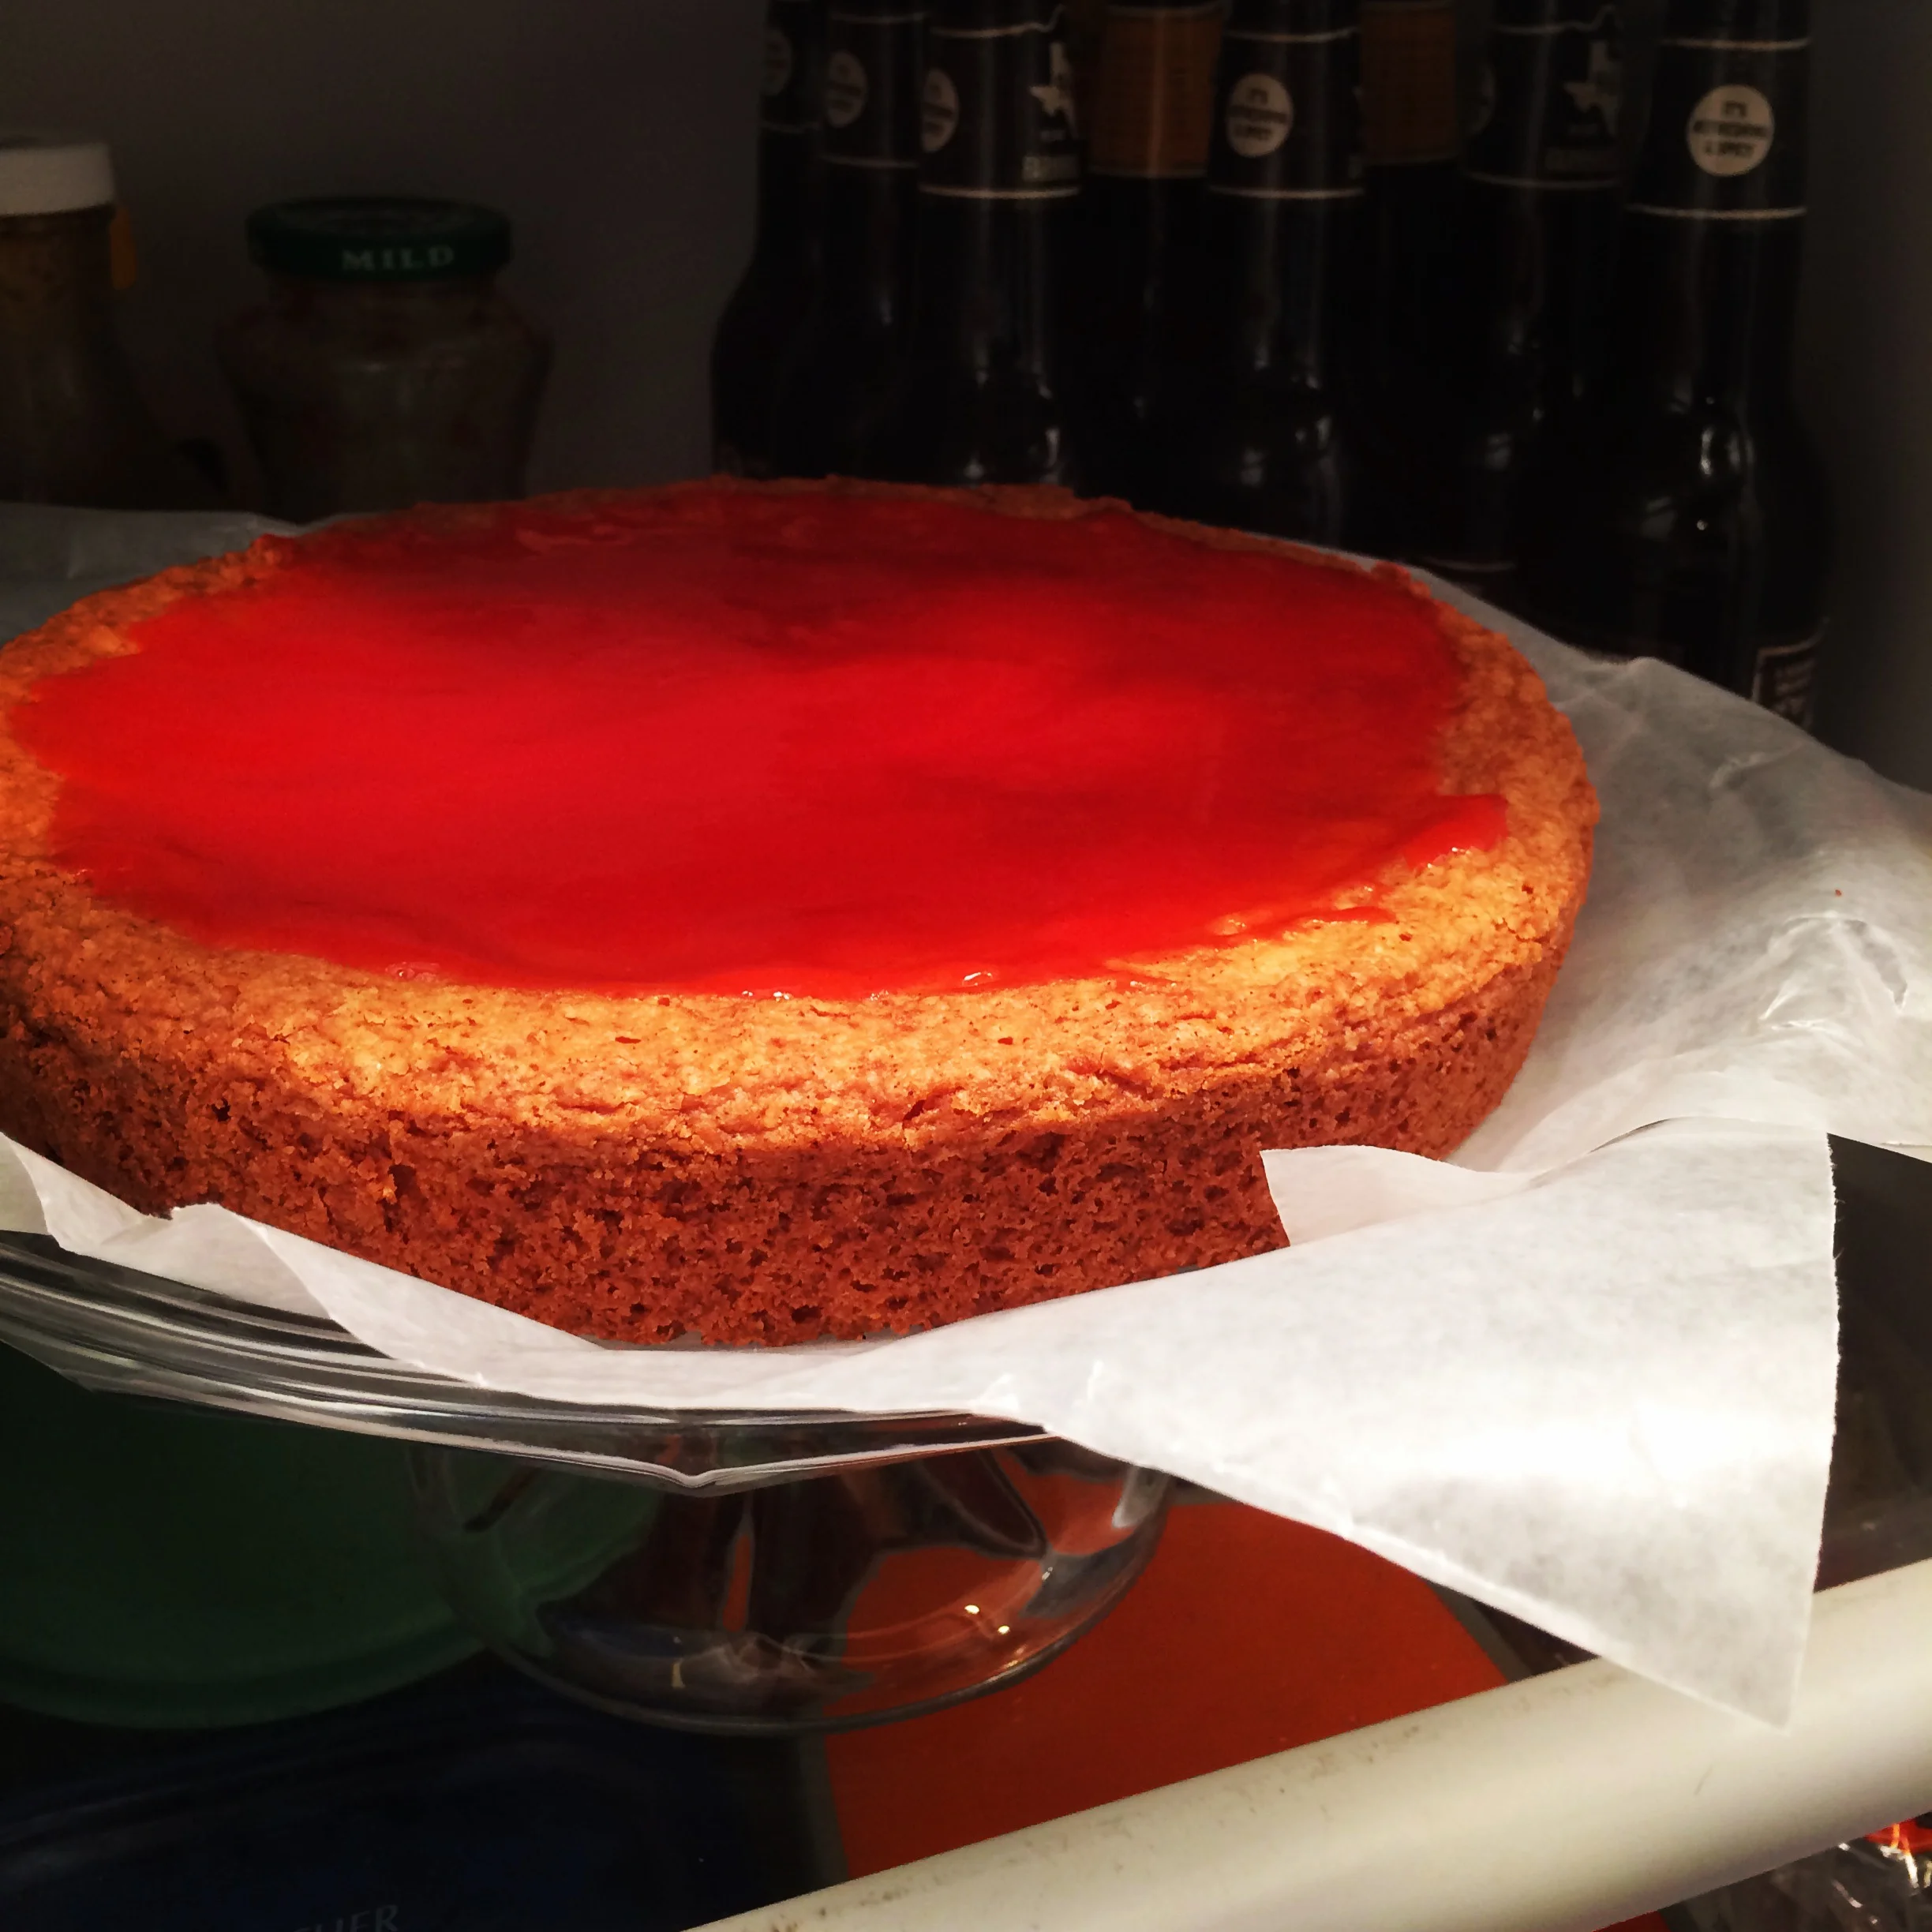
Strawberry lemonade jam setting up on the lemon layer cake.
Strawberry Lemonade Jam
Makes 1 2/3 cups, recipe from Southern Living
Ingredients
- 2 1/2 cups coarsely chopped fresh strawberries
- 3/4 cup sugar
- 1/4 cup fresh lemon juice
- 3 tablespoons cornstarch
Directions
Process strawberries in a food processor until smooth; press through a wire-mesh strainer into a 3-qt. saucepan, using back of a spoon to squeeze out juice; discard pulp. Stir in sugar.
Whisk together lemon juice and cornstarch; gradually whisk into strawberry mixture. Bring mixture to a boil over medium heat, and cook, whisking constantly, 1 minute. Remove from heat. Place plastic wrap directly on warm jam; chill 2 hours or until cold. Refrigerate in an airtight container up to 1 week.
Blogger's Note: this jam is awesome. We enjoyed it on pancakes the next day. I highly recommend making it to top your favorite toast or English muffins!
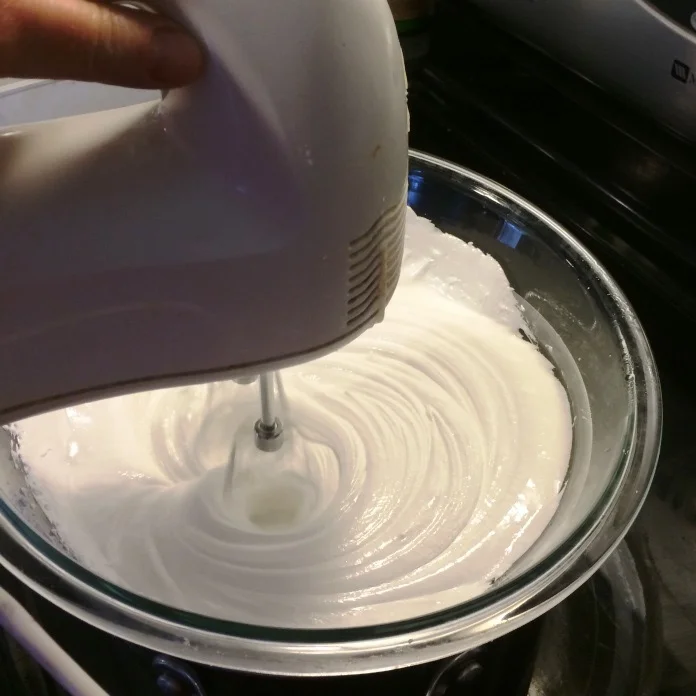
Whipping the frosting.
Strawberry Meringue Frosting
Frosts a two-layer cake, adapted from Recipes, Food & Cooking
Ingredients
- 2 egg whites, unbeaten
- 1 1/2 cups sugar
- 5 tablespoons strawberry puree
- 1/2 cup light corn syrup
- 1/4 teaspoon lemon juice
- pinch of salt
Directions
In a heatproof bowl set over a saucepan of simmering water, combine all ingredients. Cook over medium heat, stirring frequently, until mixture registers 160 degrees on an instant-read thermometer, about 2 minutes.
Using a hand mixer, beat mixture on high speed until glossy and voluminous, about 5 minutes. Use immediately.
Coloring can be done during this final whipping process.
Assembly
Place first lemon layer on a cake plate. Add strawberry lemonade jam. Add second layer of the cake. Frost with strawberry meringue frosting. Serve.